1. Quickstart
Table of Contents
1.1. Requirements
Make sure you have a Java Runtime Environment (JRE) of version 1.8 or greater. If you do not have a JRE, then click here to download JRE v1.8. If you use the JRE installer, it may or may not set the JAVA_HOME path for you. Make sure that you can access java from the console.
1.2. Start
To start Image Annotation, type in the following.
java -jar image-annotation-assembly-0.0.1-SNAPSHOT.jar
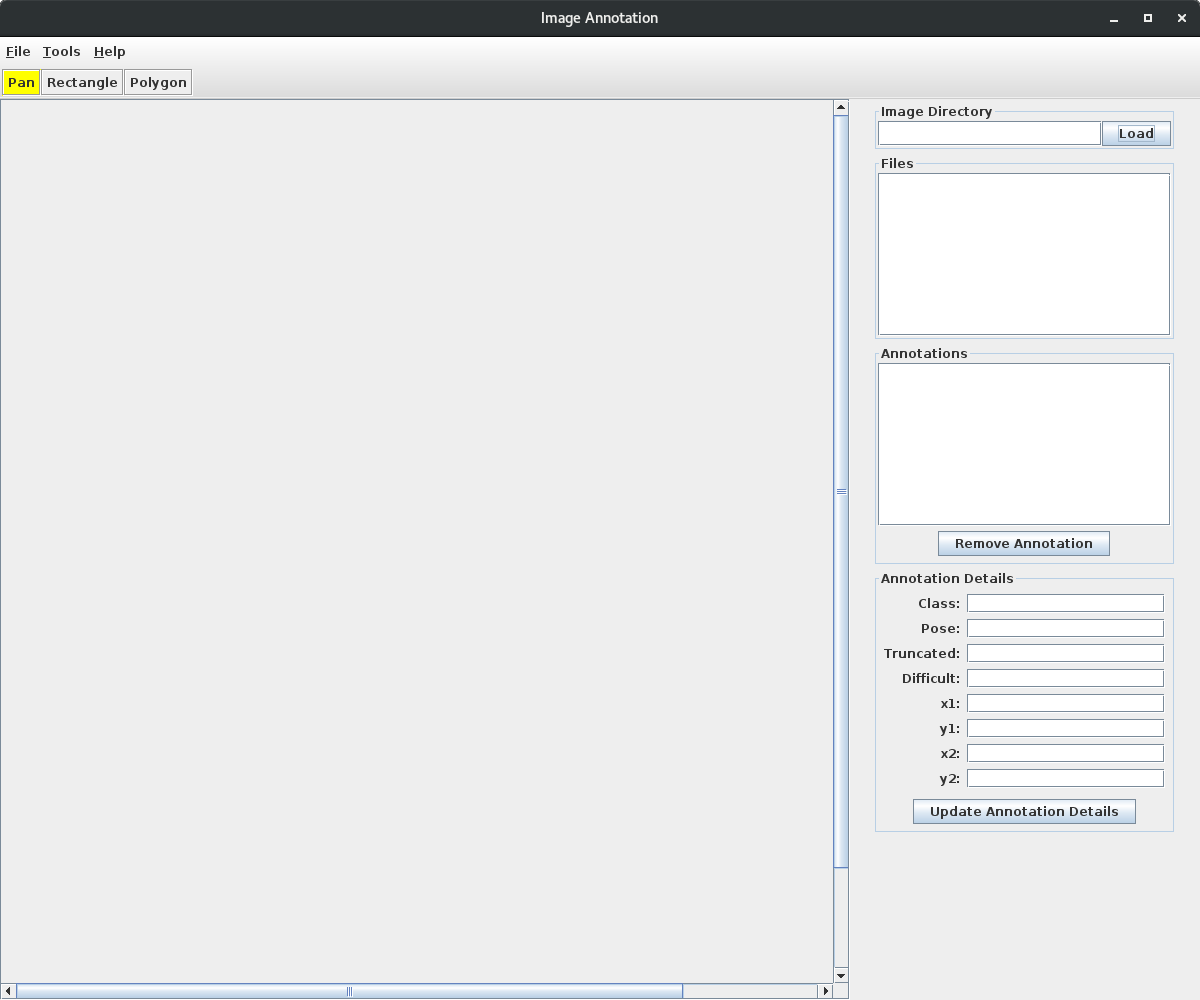
The application should start.
1.3. Annotation
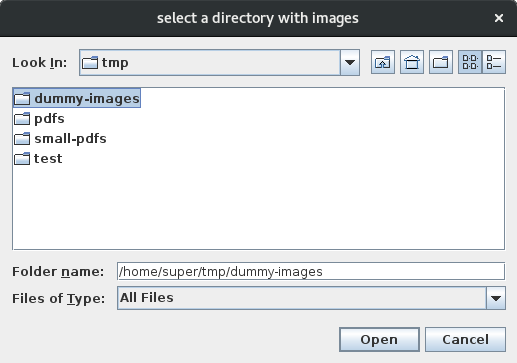
To start annotating, select a directory with images (should just be JPG files). Here, we select a directory called dummy-images.
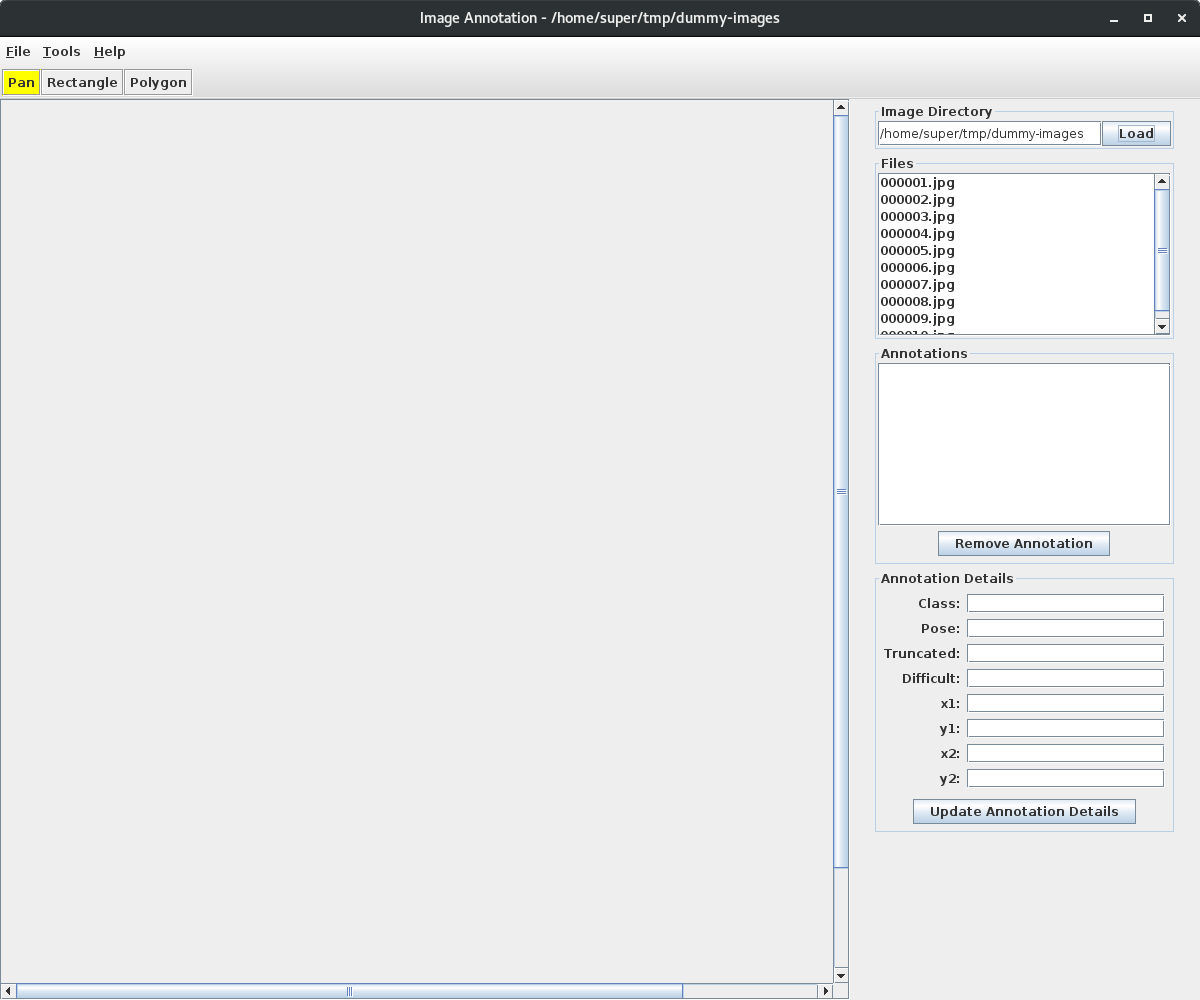
Once the image directory is loaded, all the JPG files in that directory will be shown.
As you select a file to annotate, you may start drawing rectangles or polygons around objects of interest. Here, we draw a rectangle around the dog. Note there are 3 operation you may perform on an image once it is loaded: Pan, Rectangle, and Polygon.
Pan is to pan the image around if the image size exceeds the viewing space.
Rectangle is to draw rectangles around objects.
Polygon is to draw polygons around objects.
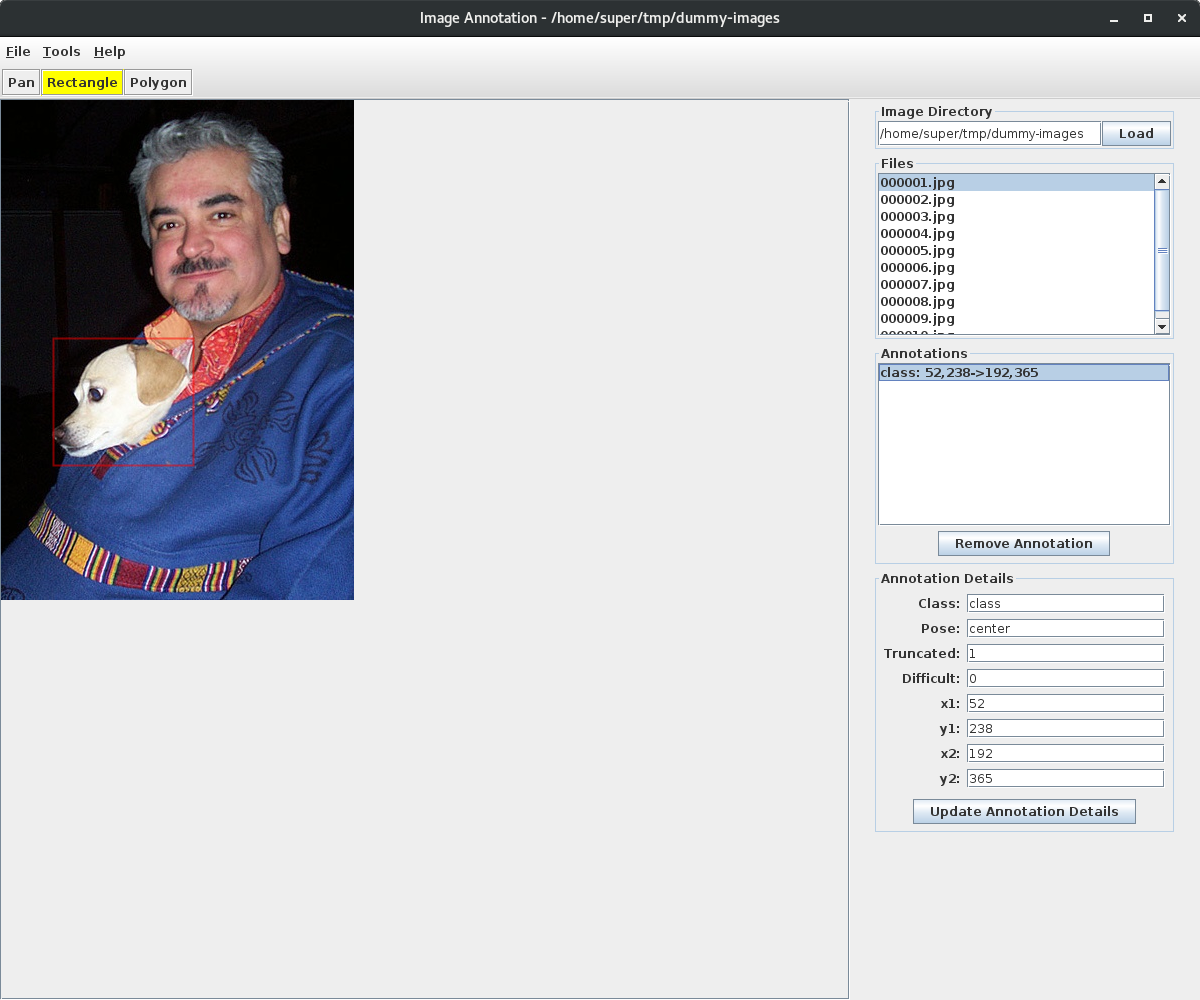
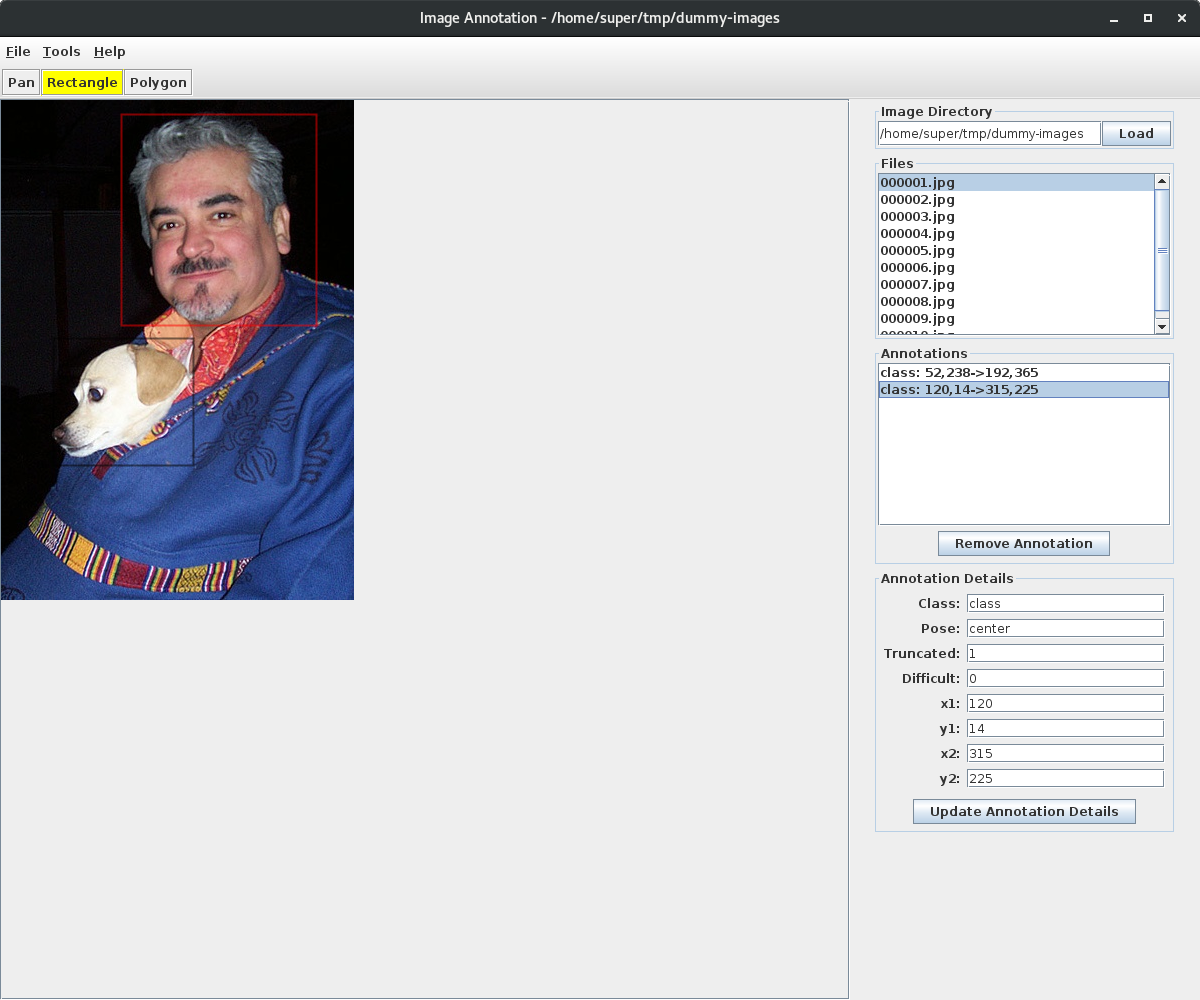
Here, we draw a rectangle around the person.
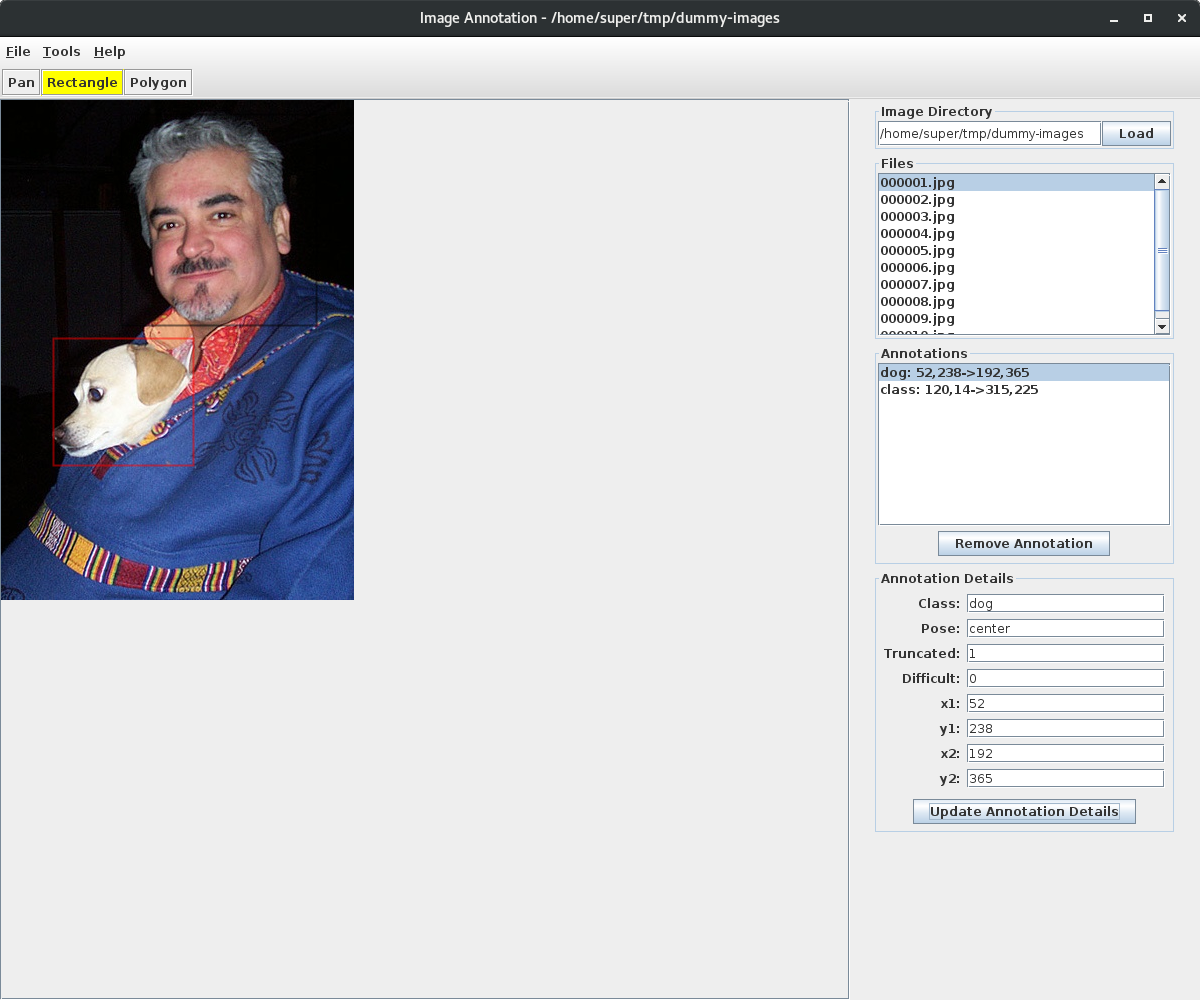
Note that we can change the class/name of the rectangle to dog.
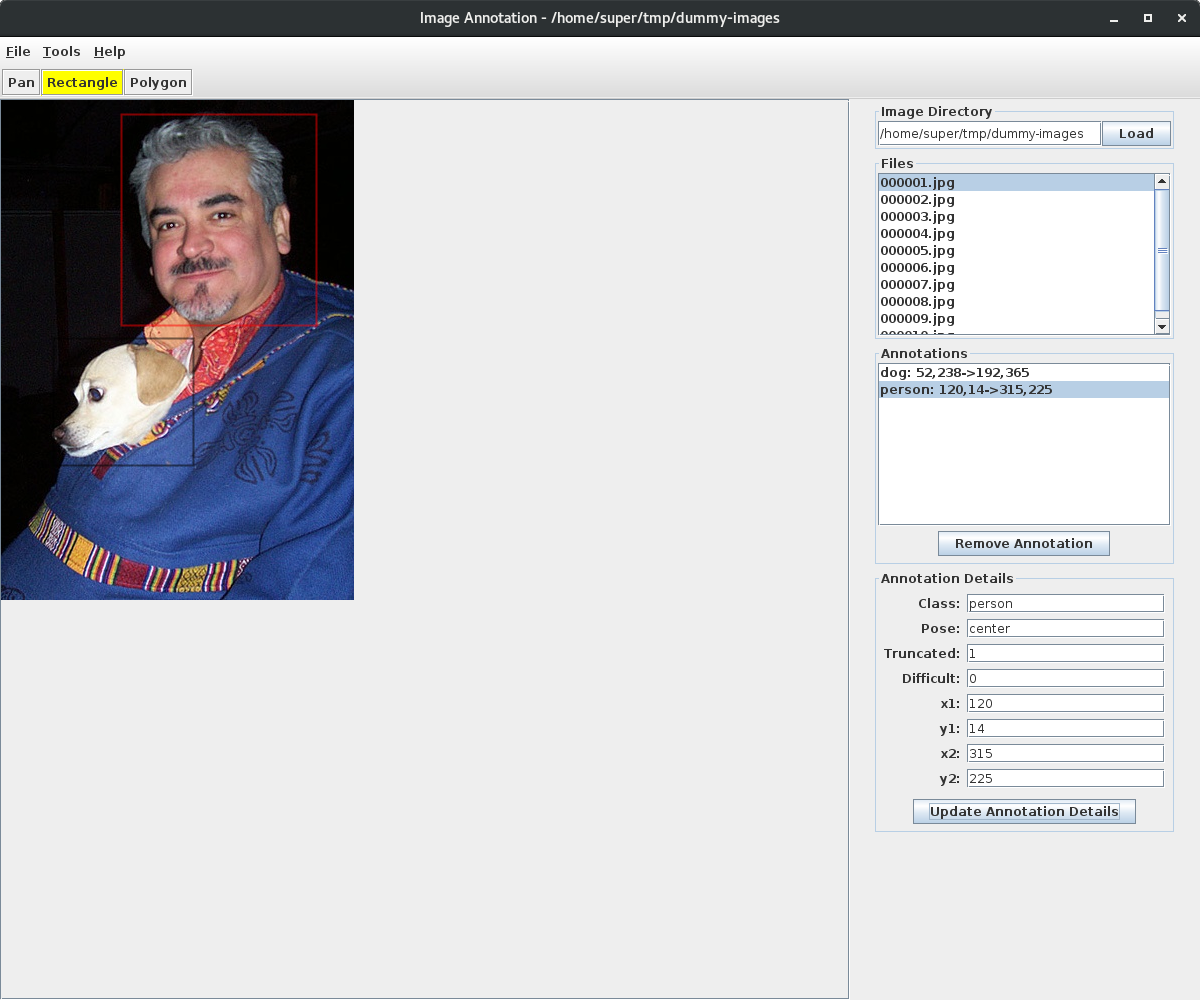
Likewise, we can change the class/name of the rectangle to person.
1.4. Export
After we have annotated all our images, we may export the dataset for object detection training. Go to File -> Export or press Ctrl-E to bring up the export dialog.

You then need to select a base directory to which the dataset will be exported to. Here, we select a directory called dummy-images-yolo.
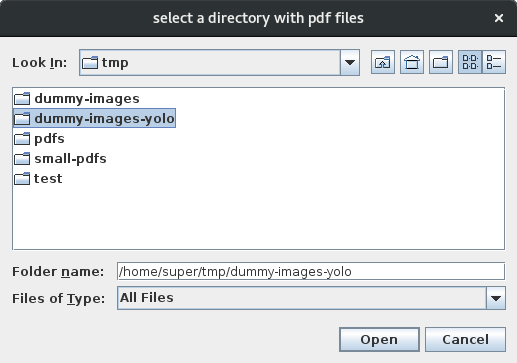
After you specify the export directory, hit Start to initiate the export.

You may verify the contents in the exported directory. There should be a few things generated. Perhaps the best way to describe the exported content is by breaking them down into what they are used for. First, the following are the images and labels used by both darkflow and darknet. Note that <dir> is a placeholder and refers to the directory name to which you have exported.
images is a directory storing the original JPGs
<dir>_labels.txt is a file storing the names/classes in the dataset (used by darkflow and darknet)
The following directories and/or files are used by darkflow.
annots is a directory storing XML annotation (darkflow)
darkflow-train.sh is a script to train your model using darkflow
darkflow-test.sh is a script to test your learned model from darkflow
tiny-yolo-<dir>.cfg, tiny-yolo-4c-<dir>.cfg, tiny-yolo-voc-<dir>.cfg, yolo-<dir>.cfg, yolo-voc-<dir>.cfg are files defining the network architecture configurations for use with darkflow
The following directories and/or files are used by darknet.
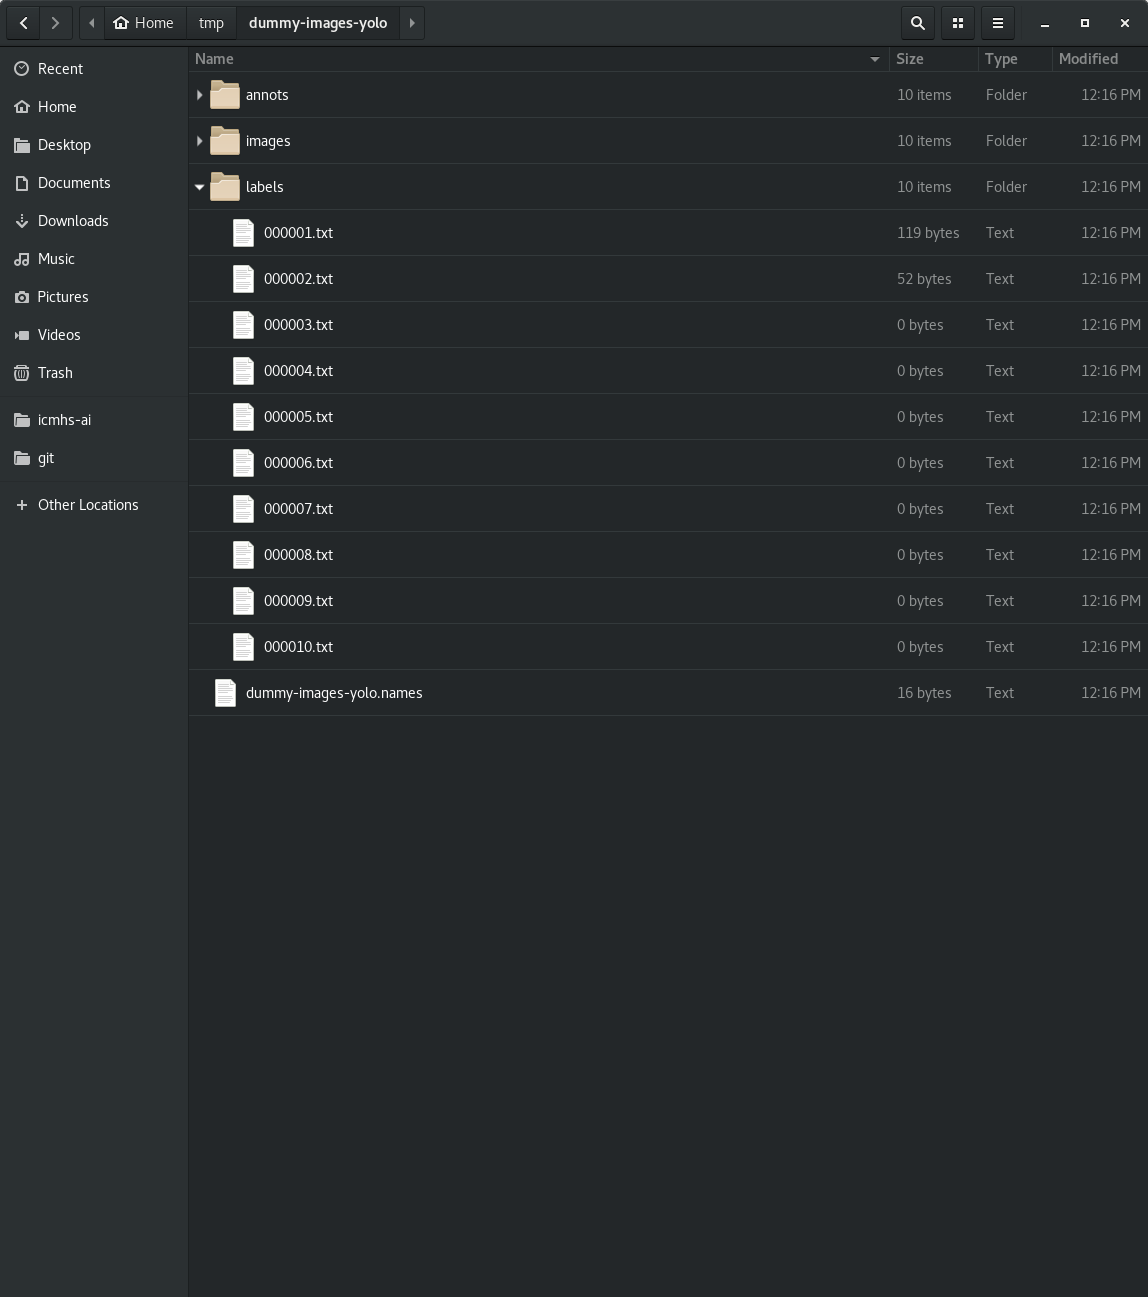
labels is a directory storing the text annotation (darknet)
darknet-train.sh is a script to train your model using darknet
darknet-test.sh is a script to test your learned model from darknet
<dir>.data is a file storing training and validation information for darknet
<dir>_train.txt is a list of files referencing the training images for darknet
<dir>_valid.txt is a list of files referencing the validation images for darknet
yolov3-tiny-<dir>.cfg is a file defining the network architecture for use with darknet
A table view of the outputs may be viewed in Export Artifacts.
The point of IAIA is to make your labeling, training, and testing experience with darkflow and darknet to be as painless as possible. All the above files are generated so that you may just simply run the scripts and get going on producing an object detection model.
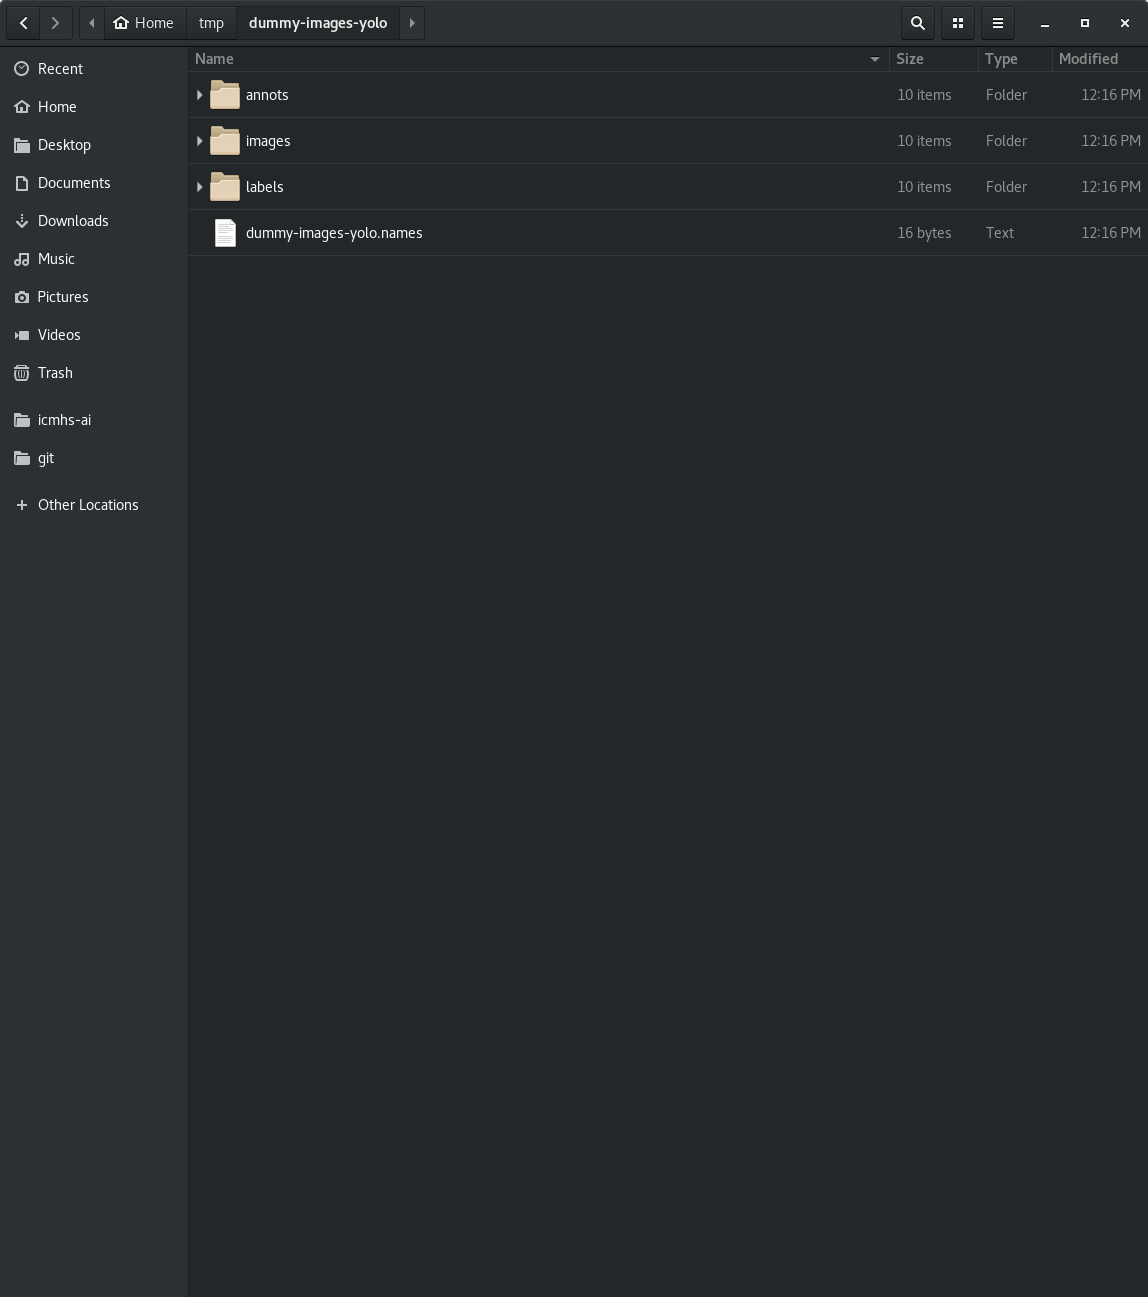
The XML files should look like the following.
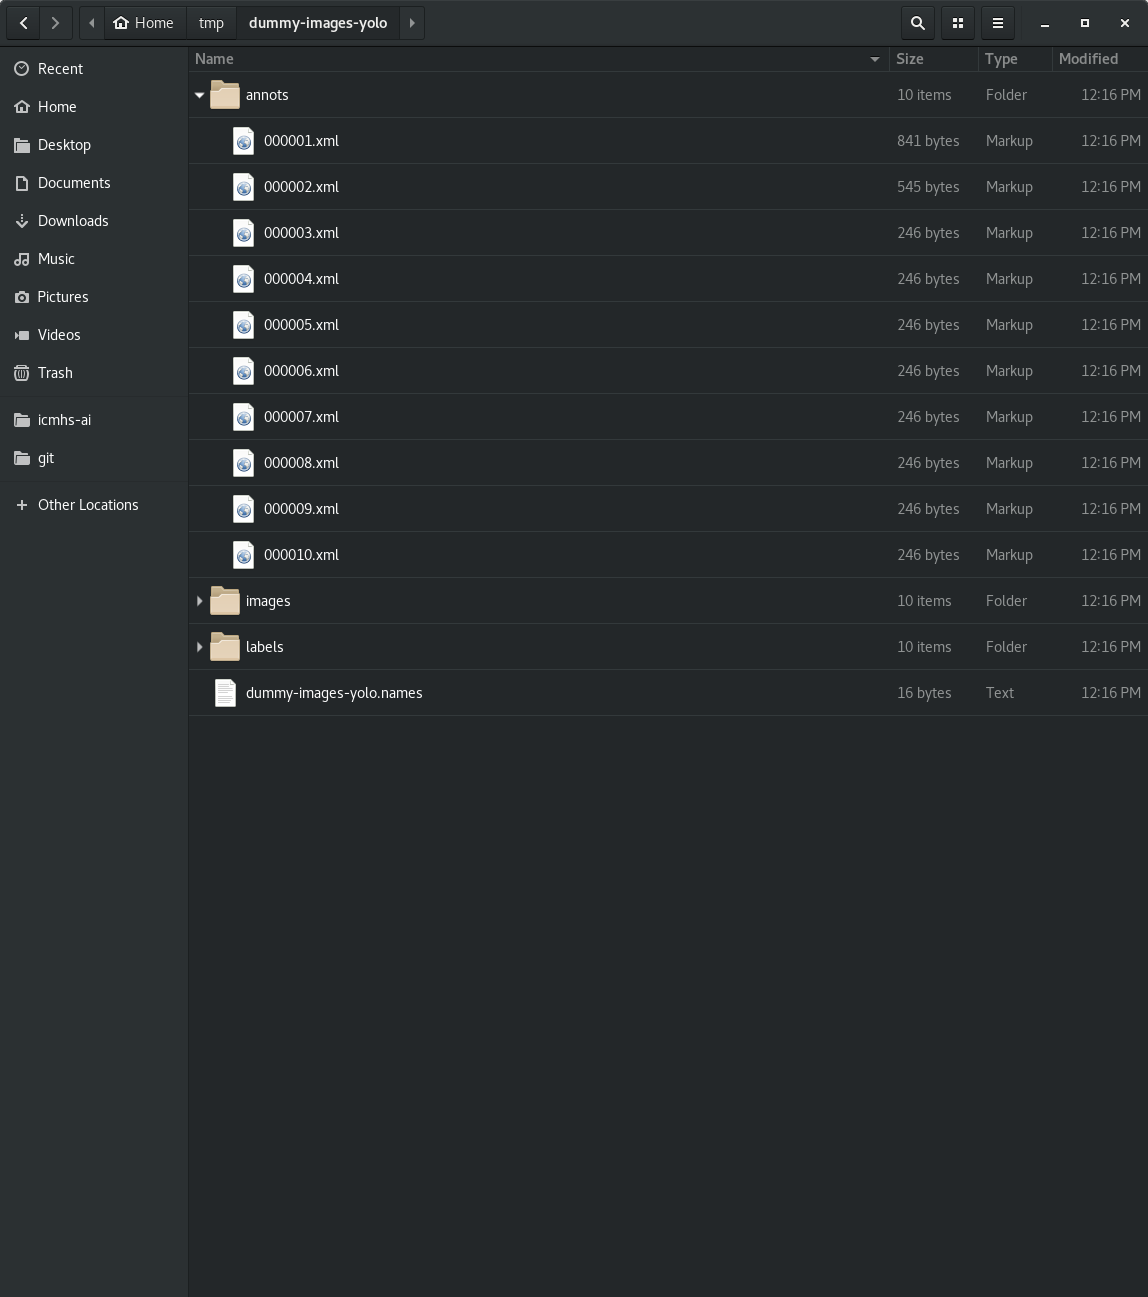
The image files should look like the following.
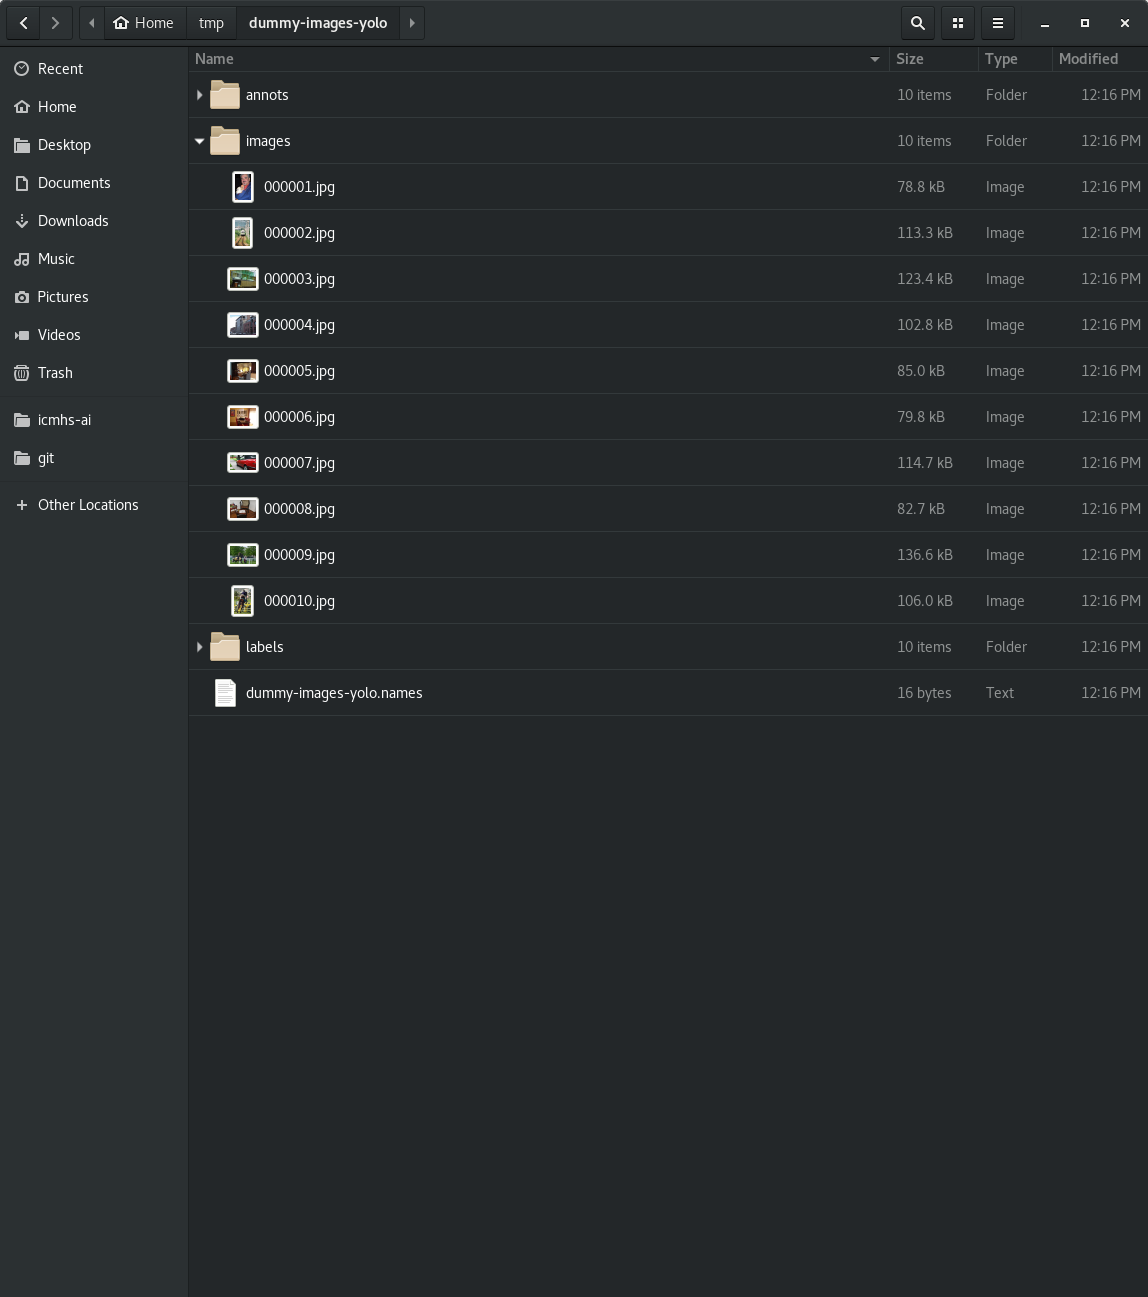
The labels should like the following.
1.5. Conversion, PDF and DOCX to JPG
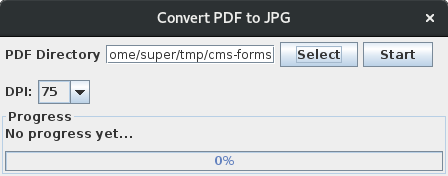
If you are working with PDFs and DOCXs, you need to convert the PDF and DOCX to JPGs first, and then annotate the JPG. Go to Tool > Convert File or hit Alt-C to bring up the file to JPG conversion dialog. Select the directory with the files; here we select a directory cms-forms. Hit Start to initiate the file (PDF or DOCX) to JPG conversion.
Note that for each file, there will be multiple JPG files produced; one for each page. Also, note that the JPG files will be stored in the same directory as the PDFs. Here’s cms-forms directory loaded.
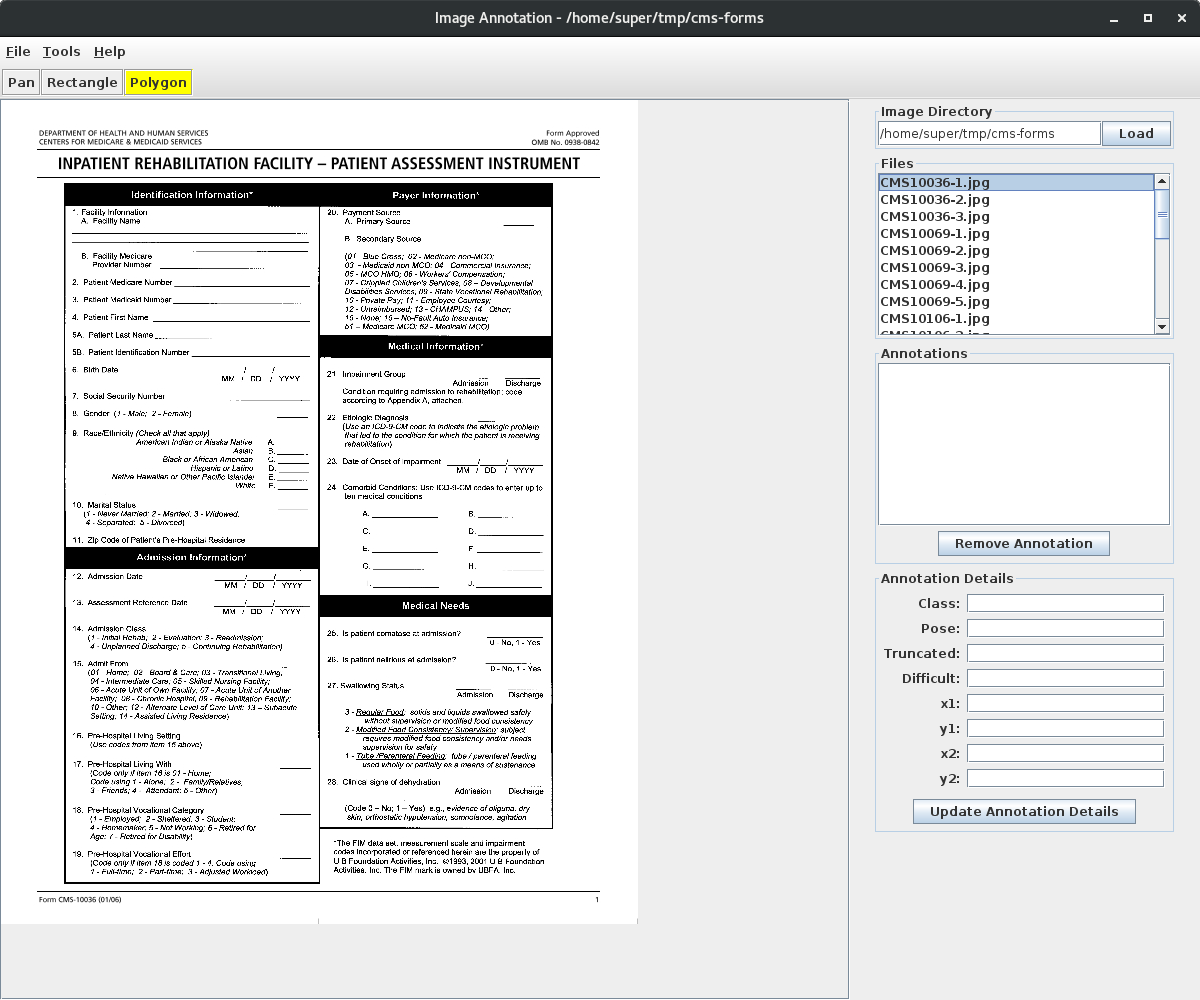
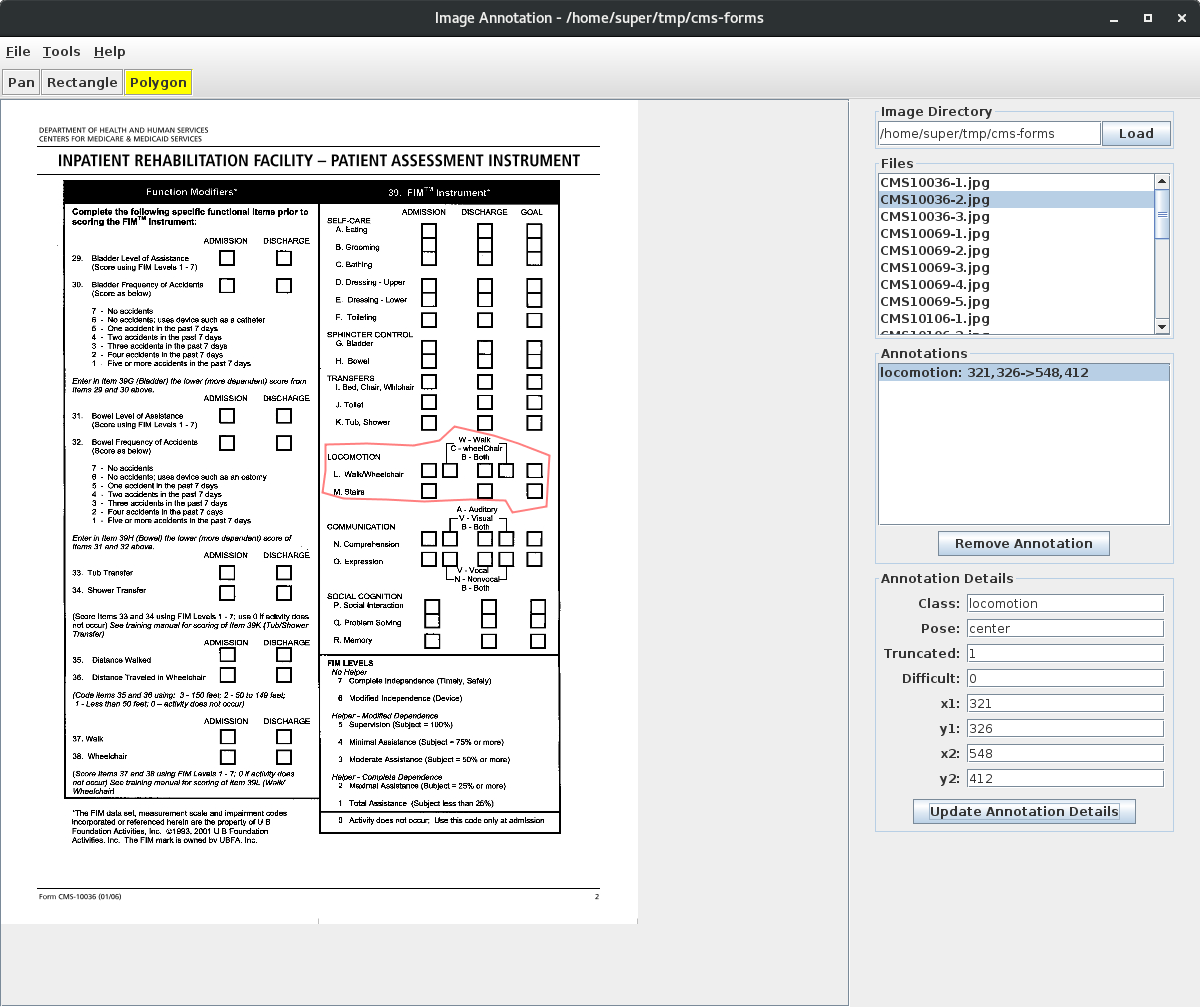
Lastly, here’s an example of drawing a complex polygon around the image (JPG). Note that any polygon can be drawn; whether it is concave, convex, or self-intersecting. Make sure you draw a polygon that is valid. The best way to draw a polygon is to start in the top left and go clockwise back to that starting point to close the polygon.
